Specialization: Okami Paintbrush

Development time: 5 weeks, 50%

Engine: Catbox

For my specialization course at The Game Assembly I wanted to do something gameplay focused since I have almost exclusively been working on engine & tools in year 2. I chose to recreate my favorite gameplay mechanic of all time from one of my favorite games, which is the paintbrush from Okami. This mechanic is something I haven't seen in any other game before, and it has tons of uses in platforming, puzzles, story progression and combat.

In the game you can hold CTRL to draw symbols onto the screen that interact with the environment. There are many symbols that have different effects, but for the scope of the project, I selected 4 of them - the sun, moon, slash and cherry bomb. I also ended up adding another symbol, water lily, because I had extra time.


Final result


Setting up!

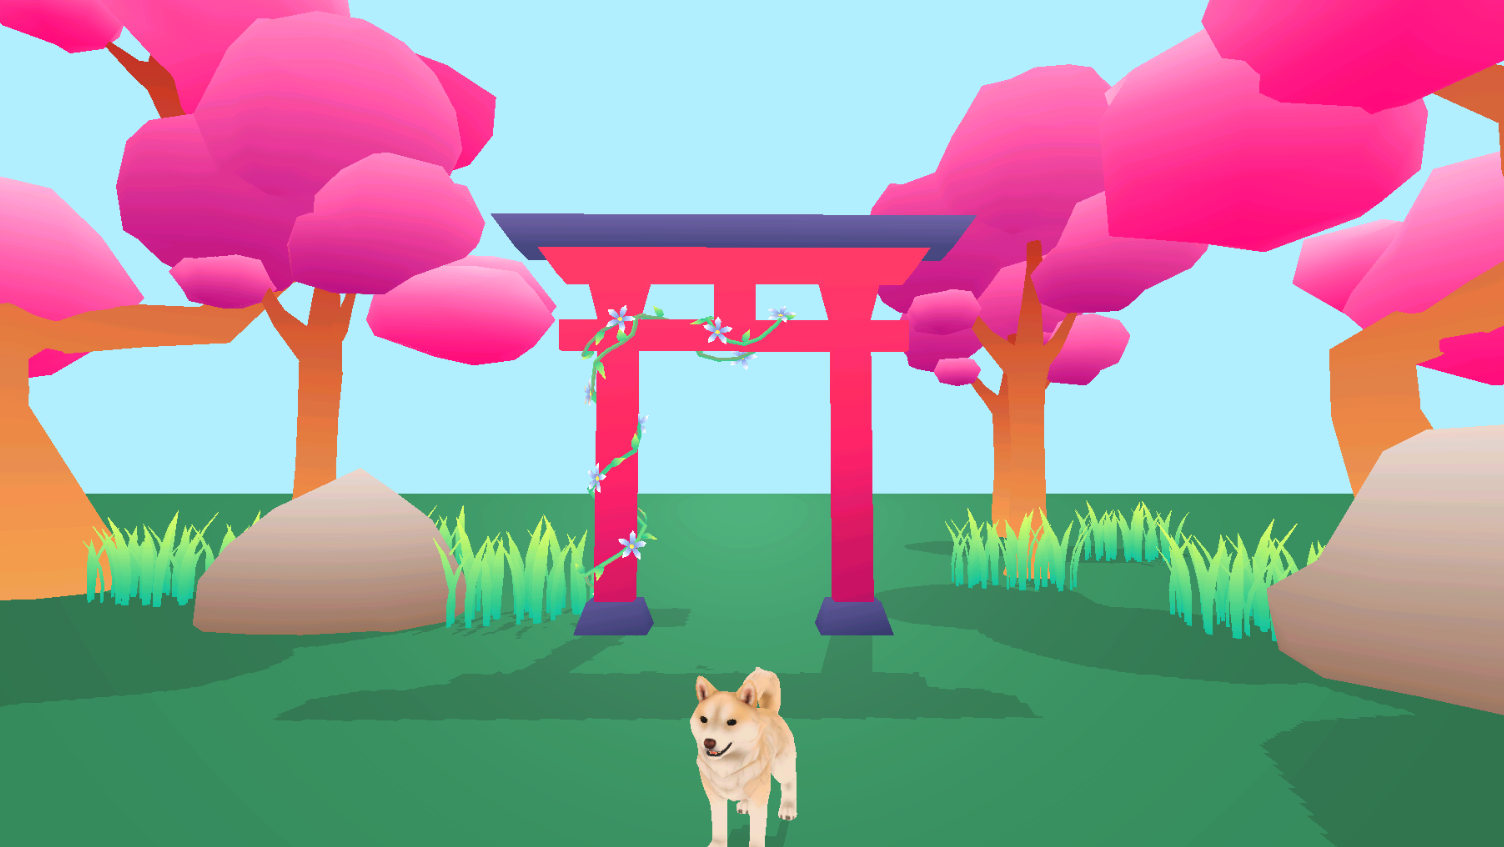
The first thing I did was set up two scenes to work with. One was for the in-game world, and one was for the painting mode. For the 3D world I got permission to reuse some environment assets that were made by our artists from the game Kakkoi, as well as the adorable Shiba model modeled by Alva Granholm and rigged by Aron Tinz, with an Okami-styled running animation from Moa Bergman!

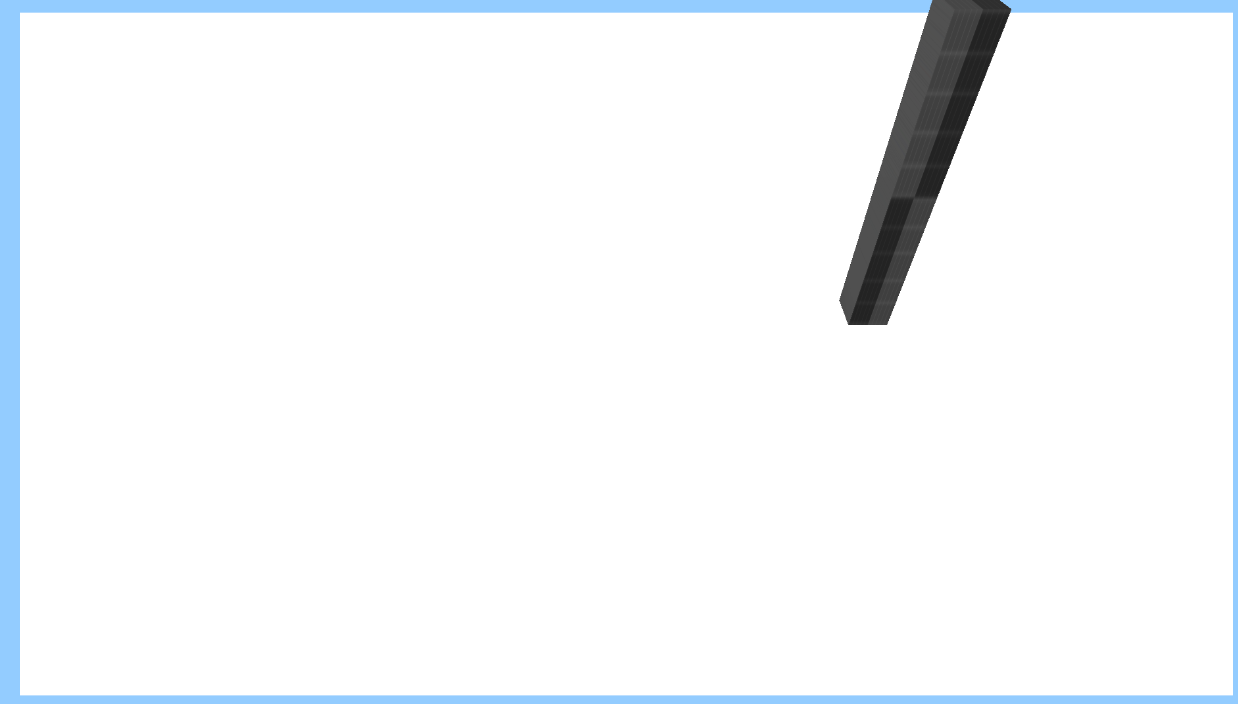
For the painting scene, I had a plane for the canvas, a cube for a brush placeholder, and by converting the mouse position to a world position I had the cube follow the mouse. When the CTRL button is held, the game scene is deactivated and the painting scene is activated. The canvas for the painting scene uses a snapshot of the screen texture from the game scene, with some color adjustments and a paper texture overlaid onto it.

The Paintbrush

If you hold the left mouse button, the mouse position is used to paint onto a texture by coloring pixels within the brush radius to black. The pixels are colored by directly accessing the texture pixel data on the CPU side.
The painting is displayed on a plane by sampling from the painting texture through a shader.

I also made the brush size vary depending on the mouse delta, so bigger strokes have more thickness. A random value is also added to the radius which makes the brush strokes look more paint-y. Just for fun, I added a rainbow mode too.

Since the brush texture makes the image recognition bit less accurate, I made a separate texture which contains the painting data with a consistent brush size. The texture with consistent brush size is the one used for image recognition and the other one is displayed on the canvas.

How to Train Your AI

For image recognition, I used a popular computer vision library called OpenCV. The amount of resources I could find for beginner OpenCV tutorials using C++ rather than Python were limited, but in the end I managed to find a tutorial for character recognition which I was able to adapt and use for the project.

The training works by giving an input image containing many hand-drawn variations of each symbol. The program will then go over all the symbols in the image and ask what character it should be associated with. The user can then press a key to associate with the symbol. For example, the moon symbol is associated with the “c” key, and the slash symbol is associated with the “-” key. When the training is complete, it saves the data to an .xml file. You can then feed your drawn symbol into the image recognition function, which will use the generated .xml file to look up which character it resembles the closest.

While it was very easy to get into the project and it gets the job done, I realized shortly after that the image recognition is not very accurate. This is because the kNN classifier that was used in the tutorial is not suitable for OCR (optical character recognition). A much more commonly used classifier for OCR development is the SVM classifier. Although it was very daunting because I had no experience with using OpenCV and I would have to modify the original tutorial code, I still wanted to give it a shot. I wasn’t confident that I would succeed, but I thought I would at least learn something valuable.

As I struggled with finding resources online for practical SVM applications, I got very worried that I would not be able to make the switch. However, OpenAI’s ChatGPT actually ended up being an invaluable help and guided me every step of the way. I am so thankful for this incredible tool being accessible for all developers for free. After a full day of debugging together, we finally succeeded with switching the kNN classifier out for SVM, and the result was immediately noticeable! It is much more consistently accurate, and the performance is improved as well.

Implementing the techniques

The next step was to perform actions depending on the symbol drawn. These were really simple - the sun and moon just change the color of the sky and blend between 2 post processing profiles, and the bomb instantiates a prefab which explodes after a few seconds. The slash is a bit more interesting, since it performs multiple raycasts within the bounds of the drawn slash symbol to detect any hit trees. The tree mesh is split into two parts, so when the tree is slashed, the top part will start lerping its rotation and color alpha over time while the stump stays in place.

One issue I ran into was that the image recognition lookup caused the time delta to be too large, which caused the tree lerp finish in one frame and appear as if it disappeared instantly. I solved this by performing the image recognition on a separate thread and using a callback function for when the image recognition is done.

One silly mistake I realized was that I accidentally drew my moon symbol facing the wrong direction, making it a waning moon instead of a waxing moon. I fixed it by simply flipping the images in the training data, but since I had already filmed & edited my final footage, it looks incorrect there.

I had some time left over, so I decided to implement another technique. I decided to implement the water lily technique since it adds another layer of complexity and flexibility to the system.
The water lily uses the exact same symbol as the sun, but which technique you execute depends on where you started drawing.

The way that the surface detection works is that the gameobject ID texture is copied when you enter painting mode. Then, when you are hovering your brush on the canvas, the mouse position is used to sample the object ID texture so you get a pointer to the object. From there, you can check the name of the object you are hovering over, for example "water". It would be better to use object layers such as the ones Unity has rather than a string comparison, but Catbox did not have this feature, so I opted for the quick fix rather than having to spend time adding functionality to the engine, which wouldn't be necessary considering the performance is not a problem at all.

If the hovered object is water, a particle emitter starts playing to give the player visual feedback. If the hovered object is nullptr, that means you are drawing onto the sky, which allows you to use the sun and moon symbol.

...

Polish

As I finished the main functionality pretty quickly, there was plenty of room for extra polish. One thing that I was very interested in doing from the start was to procedurally animate the paintbrush through a vertex shader. I made a vertex color texture for the brush, with the tip being white and the rest being black. The vertex color is then sampled through the shader and multiplied with the negative of the direction that the brush is currently moving in and applied as an offset to the vertex. I also accidentally managed to make a squash & stretch animation, which was a nice bonus. The vertex shader for the brush makes the painting mode feel very polished and satisfying to use! One issue with the vertex displacement was that the paint would appear on the canvas in front of the brush tip, but was easily solved by just delaying the painting by a couple milliseconds.

Other than that, I also added some visual details such as a trail of flowers spawning by the dog’s paws through my animation event system. I added some different particle effects made in my particle system editor, and even added a cube emitter shape and noise movement settings to the particle system editor so I could decorate my scene with sakura leaves and fireflies.

Result & Takeaways

Overall, this project was a huge success and I am very happy I chose this as my specialization. Though the concept intimidated me at first and seemed very ambitious, the process was very smooth and I managed to stick to my initial planning at all times, and had plenty of time to polish. I had a ton of fun making this!

I acquired some new knowledge, such as modifying a texture on the CPU side by modifying mapped subresource pData. I learned the difference between resource usage modes, namely D3D11_USAGE_DEFAULT being located in GPU memory which makes it quicker for the GPU to access, and is expected to remain stable, such as textures used for rendering a static mesh. On the other hand, D3D11_USAGE_DYNAMIC is located on the CPU which makes it ideal for modifying the texture frequently based on user input.

I gained an understanding of how a staging texture can be used in combination with the dynamic usage texture, and how it can be an useful optimization as it acts as an intermediary buffer between the CPU and GPU.

This project also sparked an interest in Computer Vision, and I would like to explore OpenCV further and find different applications of it for game development, or just in general!

...